Water damage can strike unexpectedly, turning a peaceful day into a costly nightmare. You might think you know how to handle it, but the restoration process involves several essential steps that can make all the difference. From understanding the type of water causing the damage to knowing the best extraction techniques, each phase plays a crucial role in returning your home to normal. So, how do you navigate this complex situation and guarantee you're taking the right steps? Let's break down the key processes and decisions you'll need to make.
Understanding Water Damage
Water damage can creep up on you, often leaving behind significant destruction before you even realize it. To tackle this pesky problem, you need to understand the types of water involved. There are three main categories: clean, gray, and black water. Clean water comes straight from your tap or melted snow and isn't a threat to your health—unless you're a particularly adventurous ice cube. Gray water, which includes water from sinks and showers, may contain mild contaminants, while black water is the villain of the story, spewing from sewage or floodwaters, bringing along bacteria and pathogens like unwanted party guests.
Next, let's explore the sources of water that can wreak havoc. Leaky roofs, burst pipes, and even appliance malfunctions can contribute to the chaos. Plus, let's not forget the joys of natural disasters! Heavy rains or overflowing rivers can turn your home into an unwanted water park. Knowing these types and sources of water is your first line of defense against potential damage. So, grab your water-damage detective hat and get ready to investigate—your home will thank you!
Initial Safety Measures
Taking immediate action is crucial when dealing with water damage, as it can prevent further destruction and guarantee your safety. First things first, you'll want to assess the situation without becoming the next contestant on a survival show. Check for electrical hazards before stepping into any soaked areas. If you see sparks or smell something funny, it's time to channel your inner superhero and turn off the power at the main breaker—safety first!
Next, grab your flood preparedness kit, if you have one handy, and make sure it's stocked with necessities like flashlights, batteries, and perhaps a snack or two (because who doesn't need a chocolate bar in a crisis?). Don't forget to gather your emergency contacts, including your insurance agent and a reliable water damage restoration company. You might want to save their numbers in your phone, so you're not scrambling through old receipts while standing in a puddle.
Assessing the Damage
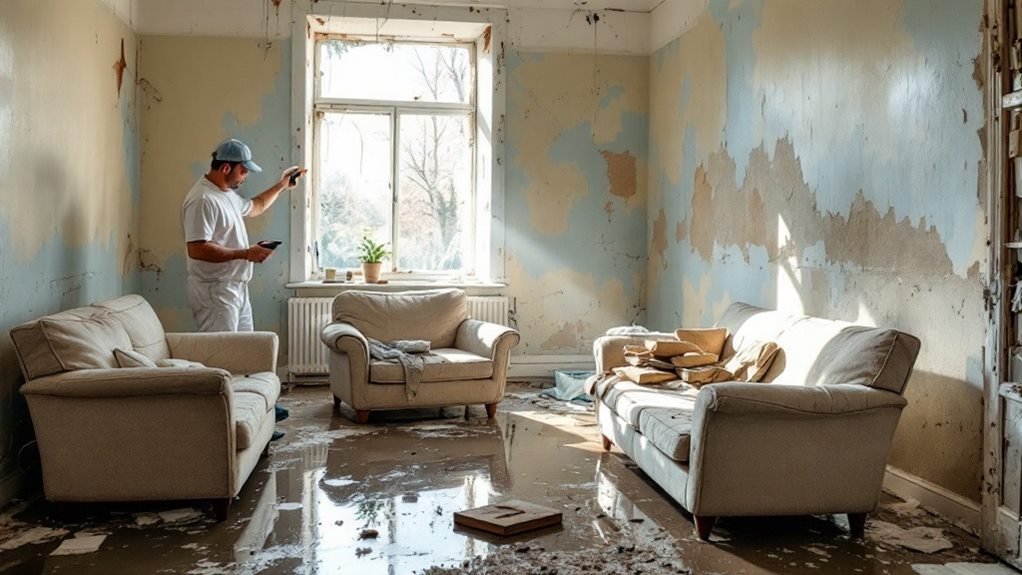
How can you effectively assess the damage after a water incident? First, you'll want to channel your inner detective. Grab a moisture meter and inspect areas where water might have seeped in. Look for signs of mold growth, as it loves to make itself at home in damp places. Mold can appear within 24 to 48 hours, so time is of the essence!
Here's a breakdown of key areas to inspect:
| Area | What to Look For | Tools Needed |
|---|---|---|
| Walls | Discoloration, peeling paint | Moisture meter, flashlight |
| Floors | Warping, stains | Moisture meter, ruler |
| Ceilings | Sagging, water spots | Moisture meter, ladder |
As you assess, document your findings with photos and notes. This will help you when you report the damage to your insurance company or if you need to call in the pros. Remember, early detection of moisture can save you from a moldy disaster and a hefty repair bill. So, put on your detective hat and get to work!
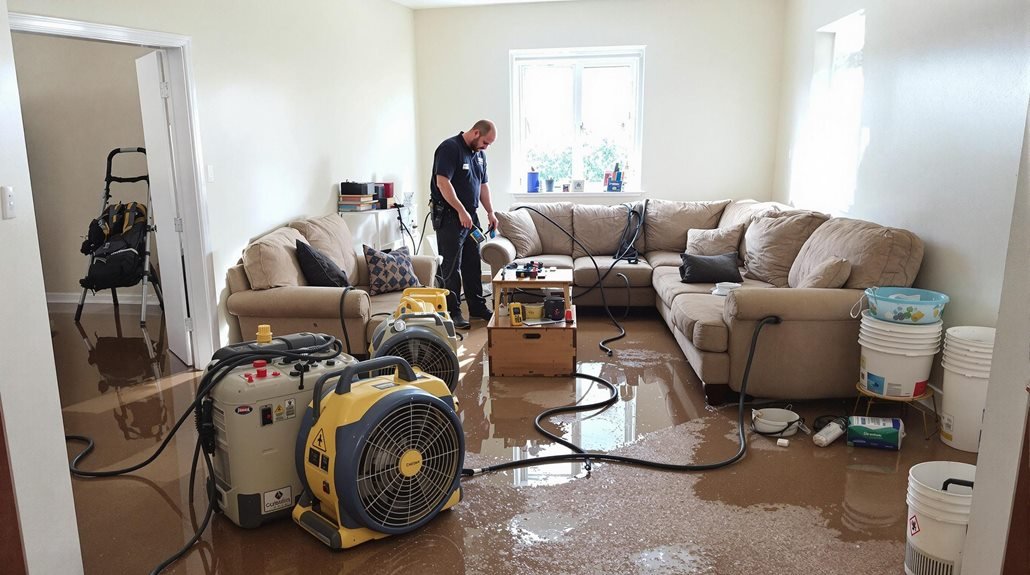
Water Extraction Techniques
Once you've thoroughly assessed the damage, the next step is to remove any standing water from the affected areas. Effective flood removal is essential to prevent further complications. Here are three techniques you can use for water extraction:
- Portable Pumps: These are perfect for small to medium-sized floods. They're lightweight and can be maneuvered easily, making them your trusty sidekick in the battle against moisture.
- Truck-mounted Pumps: For larger floods, you might want to call in the big guns. These pumps are powerful and can handle significant volumes of water quickly, ensuring you don't have to start an Olympic swimming pool in your living room.
- Wet/Dry Vacuums: A classic choice for homeowners. They can suck up water like a thirsty sponge and are great for smaller spills or post-pump cleanup. Don't forget to use moisture mapping to locate hidden water pockets!
Using these techniques will help you tackle water extraction effectively. Remember, the sooner you act, the better your chances of salvaging your property and keeping mold at bay. Now, roll up those sleeves and get to work!
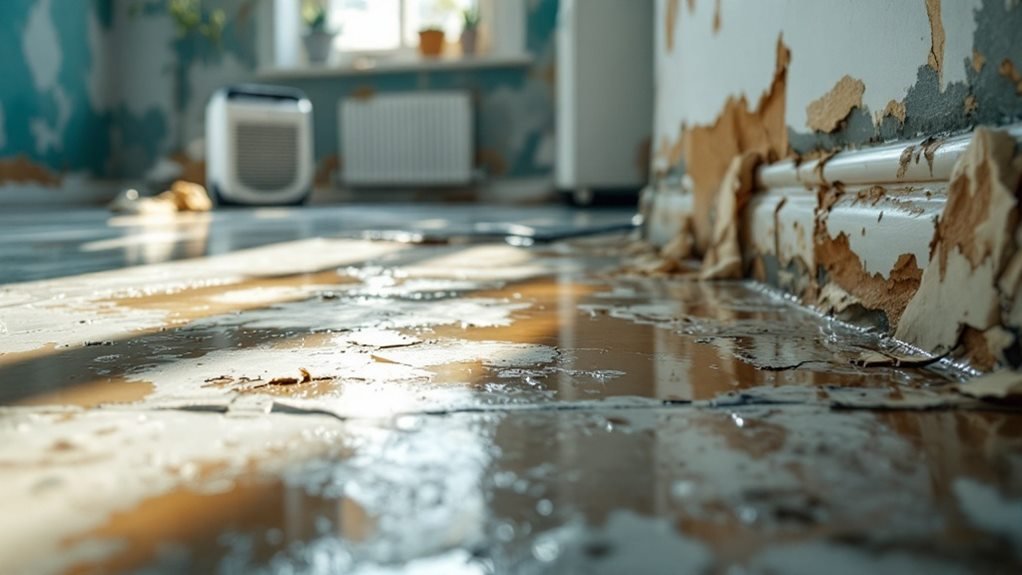
Drying and Dehumidification
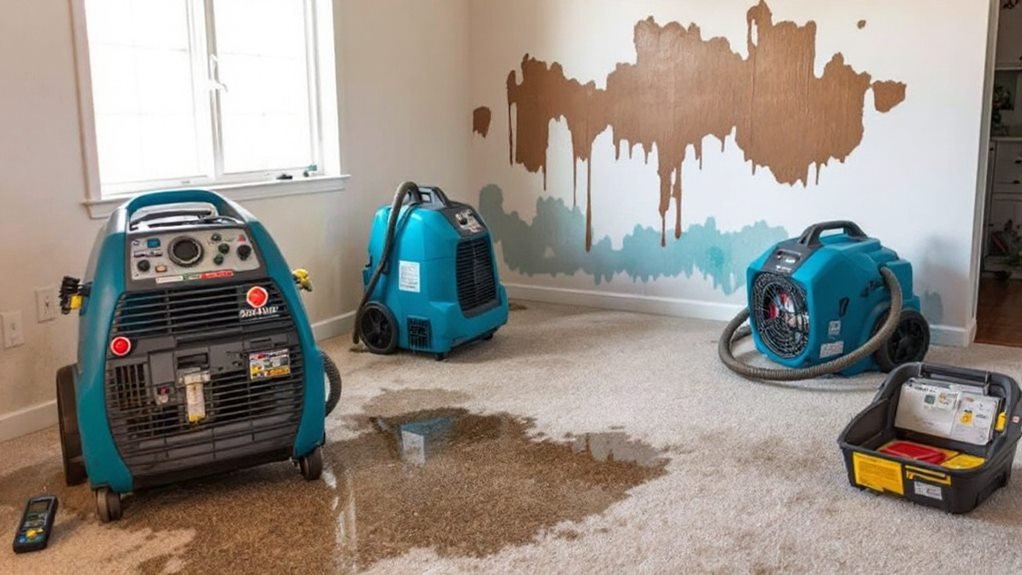
Promptly addressing drying and dehumidification is crucial after water extraction to guarantee your space returns to a safe and livable condition. Without proper moisture control, you could be inviting mold to the party, and nobody wants that uninvited guest!
Start by enhancing air circulation. Open windows and doors, or use fans to create a cross-breeze. This'll help speed up the drying process and keep your home from feeling like a sauna. If you want to go pro, consider industrial-grade dehumidifiers; they're the superheroes of moisture control!
Here's a quick reference table to help you understand the drying process better:
| Step | Description |
|---|---|
| Air Circulation | Use fans and open windows for airflow. |
| Dehumidification | Employ dehumidifiers to remove excess moisture. |
| Monitor Humidity | Keep an eye on humidity levels with a hygrometer. |
| Final Check | Confirm everything's dry to prevent mold. |
Cleaning and Sanitizing
Cleaning and sanitizing are vital steps after water damage to prevent mold growth and health hazards. You'll need to employ effective cleaning techniques and choose safe products that won't cause further harm. Understanding the importance of thorough sanitization will guarantee your environment remains safe and healthy.
Importance of Sanitization
Sanitization is an vital step in the water damage restoration process, as it helps eliminate harmful bacteria, mold spores, and other pathogens that thrive in damp environments. Ignoring this vital phase can leave your home a breeding ground for health risks, and nobody wants to invite that kind of party.
Here are three key sanitization techniques you shouldn't overlook:
- Disinfection: Use EPA-approved disinfectants to kill pathogens on surfaces. It's like giving your home a well-deserved spa day—minus the cucumber slices!
- Dehumidification: This isn't just some fancy word; it's important for reducing moisture levels and preventing mold. Keep the air dry, and your chances of hosting unwanted guests (like fungi) drop considerably.
- Personal Protection: Don't forget to wear gloves, masks, and goggles! You wouldn't plunge into a pool of questionable water without a floatie, right?
Effective Cleaning Techniques
When dealing with water damage, effective cleaning techniques play a vital role in restoring your space to a safe and healthy condition. First, you'll want to remove excess water using a wet/dry vacuum or a pump—think of it as a workout for your floors! Next, thoroughly clean all surfaces with water and a suitable detergent. Pay attention to walls, baseboards, and any materials that may harbor moisture.
Sanitizing is critical for mold prevention. After cleaning, apply a disinfectant solution to guarantee any pesky germs don't throw a house party in your damp space. For hard surfaces, a mixture of water and bleach can work wonders. Just remember, more isn't always merrier—follow the manufacturer's instructions for dilution to keep things safe.
In an emergency response situation, you'll need to act swiftly to prevent mold growth. Keep an eye on humidity levels with a hygrometer, as mold loves a moist environment. Finally, make certain to dry everything completely, using fans and dehumidifiers if necessary. With these effective cleaning techniques, you'll turn a soggy disaster into a sanitized sanctuary.
Choosing Safe Products
After you've tackled the initial cleaning, selecting safe products for further sanitization becomes paramount. You want to guarantee your space is not just clean but likewise safe for you and your loved ones. Here's where eco-friendly products come into play. While you might be tempted to release the heavy artillery of harsh chemicals, there are safe alternatives that can do the job without turning your home into a toxic wasteland.
Consider these three options:
- Vinegar: This powerhouse is a natural disinfectant and odor neutralizer. Plus, it won't give you a headache like those industrial cleaners.
- Baking Soda: This versatile hero not only cleans but also deodorizes. It's perfect for absorbing odors and tackling stubborn stains.
- Castile Soap: This plant-based soap is gentle yet effective. It's like the Swiss Army knife of cleaning products—if only it could additionally cook dinner!
Repairing Structural Damage
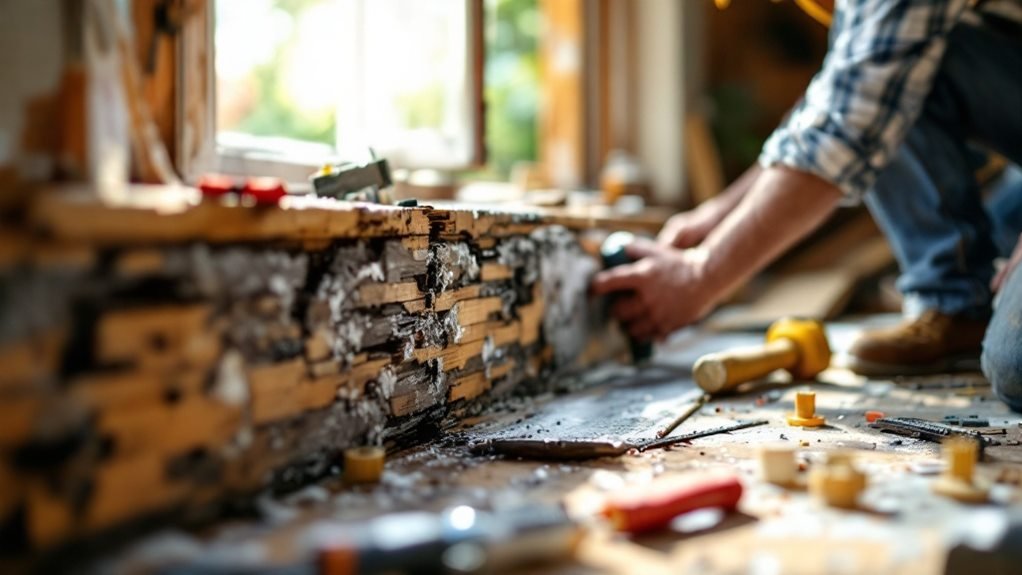
Addressing structural damage promptly is crucial for maintaining the integrity of your property after water exposure. If you've noticed sagging floors or walls that resemble an abstract art installation, it's time to take action. Start by evaluating the damage—look for warped beams, weakened foundations, or mold growth. Speaking of mold, you'll want to tackle mold remediation first, as it's the unwelcome party crasher that can lead to serious health risks.
Once you've dealt with mold, it's time to repair the actual structure. Replace any damaged drywall, flooring, or beams. Confirm you're using materials that meet local building codes, as nobody wants a surprise visit from the structural integrity police. If the damage is extensive, consider hiring a professional contractor who specializes in water damage restoration.
Don't forget to waterproof your repairs! Applying sealants can help keep future water at bay. While you're at it, think about reinforcing existing structures to prevent future mishaps. Remember, your house isn't just a roof over your head; it's likewise a fortress against pesky water invaders. Repairing structural damage isn't just necessary—it's your property's superhero moment!
Preventing Future Issues
Preventing future issues starts with a thorough assessment of your property's vulnerabilities. It's vital to identify potential risks that could lead to water damage later on. Think of it as giving your home a check-up, minus the awkward small talk. Here's what you need to focus on:
- Inspect Drainage Systems: Make sure your gutters and downspouts are clear and functioning properly. Clogged systems can lead to overflowing, which is about as welcome as a surprise guest at dinner.
- Install Moisture Barriers: Investing in moisture barriers in your basement or crawl space can save you from future headaches. These barriers act like an invisible shield, preventing water from sneaking in uninvited.
- Regular Maintenance: Schedule routine checks on plumbing and appliances. A small leak can turn into a big problem faster than you can say "water woe," so don't let it slip through the cracks.
Insurance and Claims Process
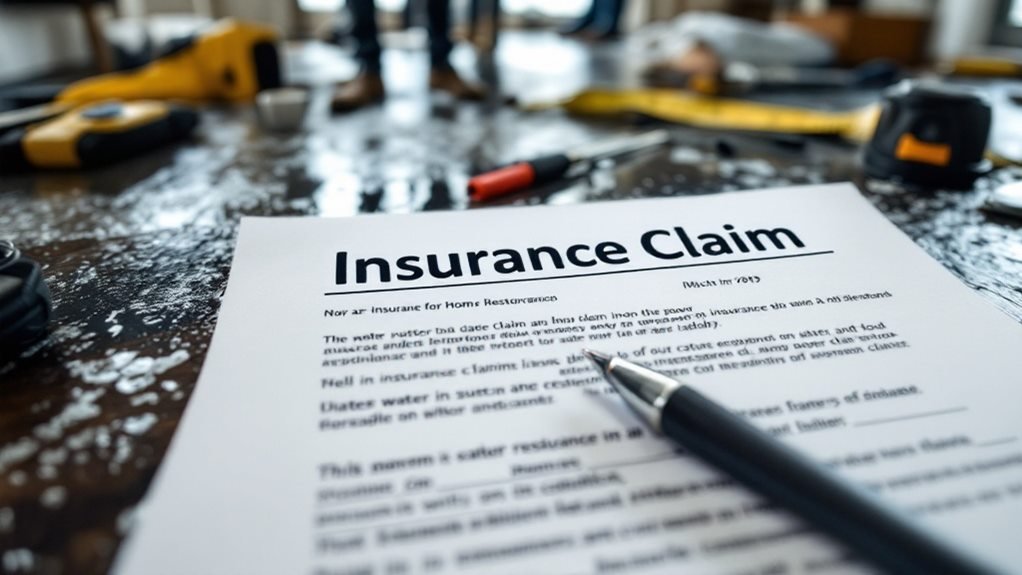
Steering through the insurance and claims process can feel overwhelming, especially after experiencing water damage. You're probably thinking, "Do I really need to become a claims expert?" Well, yes, but don't worry; you won't need a degree in insurance wizardry. Start by reviewing your policy coverage. This'll help you understand what's covered. Spoiler alert: not all policies cover flooding, so double-check before you panic.
Next up, gather your claim documentation. This includes photos of the damage, repair estimates, and any receipts for emergency services you've already paid. Think of it as assembling your very own "Water Damage War Room." The more organized you are, the less likely you'll feel like you're swimming in paperwork.
When you file your claim, be clear and concise about the damage. Your insurance company isn't a mind reader—though they might act like it sometimes. Follow up regularly to keep the process moving. Remember, patience is key, but a little humor can lighten the mood when you're stuck on hold. After all, getting your life back on track is worth a few laughs along the way!
Hiring Professional Help
Once you've navigated the insurance and claims process, the next step often involves hiring professional help to tackle the aftermath of water damage. You might think of DIY methods, but let's be real—water damage is sneaky and can cause havoc faster than you can say "mold." Here's what you need to evaluate:
- Cost Factors: Understand that pricing can vary based on the extent of the damage, the size of the area affected, and the specific services required. Get those quotes lined up, and remember, you get what you pay for!
- Service Options: Look for professionals who offer a full range of services including extraction, drying, and restoration. Some might even throw in a complimentary "we're sorry this happened" card—just kidding, but wouldn't that be nice?
- Expertise: Check for certifications and reviews. You want a team that knows their stuff, not just someone who watched a few YouTube videos on water damage repair.
Frequently Asked Questions
How Can I Identify Hidden Water Damage in My Home?
To spot hidden water damage, check for water leaks around plumbing, inspect ceilings and walls for discoloration, and use moisture detection tools. If it smells like a wet dog, you've got a problem!
What Are the Health Risks Associated With Water Damage?
Imagine a hidden garden of mold thriving in your home's shadows. Water damage compromises structural integrity, leading to respiratory issues and allergies. Don't let your abode become a breeding ground; tackle moisture before it multiplies!
How Long Does the Water Damage Restoration Process Take?
The restoration timeline varies, but typically takes a few days. You'll use drying techniques like dehumidification and air movement to speed things up. Just remember, patience is key—water doesn't magically disappear, regardless of your wishes!
Can I Perform Water Damage Restoration Myself?
Sure, you can tackle DIY restoration, but remember, while you're channeling your inner handyman, home insurance might not cover your adventurous spirit. Weigh the risks before diving in; sometimes, professionals do it better—without the mess!
What Items Are Salvageable After Water Damage Occurs?
After water damage, you can often salvage items like furniture through restoration and clean electronics with care. Just remember, if it's soaked, don't plug it in—your gadgets deserve better than an unwanted swim!
Conclusion
In the aftermath of water damage, think of your home as a vessel steering through stormy seas. You need to act swiftly to prevent further deterioration. By following the step-by-step process outlined in this guide, you can effectively restore your property and safeguard it against future issues. Remember, whether you're extracting water, drying out spaces, or evaluating damage, each step is essential in guiding your home back to safety. Don't hesitate to seek professional help when needed.
Recent Comments