When water damage strikes, it's essential to act quickly and effectively before professionals get there. You'll want to start by evaluating the situation and guaranteeing your safety, as it sets the foundation for what comes next. By stopping the water source and removing excess water, you're already making a significant difference. But there's more to take into account, especially when it comes to drying and ventilating the space to prevent long-term issues. What steps can you take to secure your home is protected in the meantime?
Assess the Water Damage
When dealing with water damage, it's crucial to quickly assess the situation to determine the extent of the problem. First things first, identify the water type—whether it's clean, grey, or black. Clean water's like that friend who shows up on time; it's manageable and usually comes from a broken pipe. Grey water's a bit more complicated, often carrying contaminants from your appliances. And black water? Well, that's your party-crashing nightmare, loaded with bacteria and waste.
Next, take a good look around. Check for visible damage—stains, warping, or that delightful musty smell. You might feel like a detective, hunting down clues about the damage extent. Look behind furniture, under carpets, and in walls. If your floors look like a mini ocean, you've got a serious situation on your hands.
Don't forget to snap some photos for your records or as evidence of your home's wild adventure. Remember, the sooner you assess the damage, the quicker you can start the cleanup process. Just think of it as a water-themed scavenger hunt, where the prize is a dry home!
Ensure Safety First
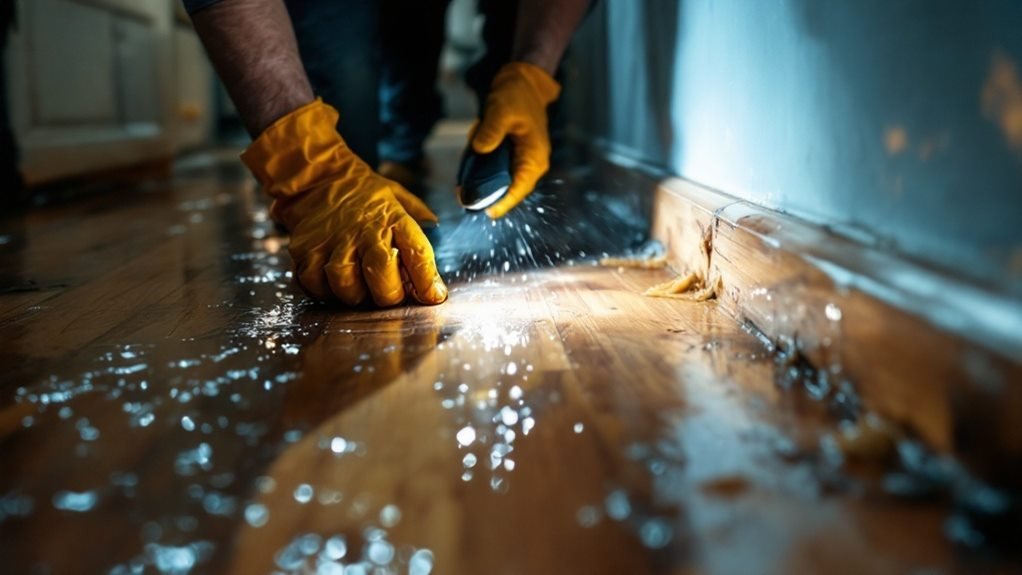
Safety gear is your first line of defense against the hazards of water damage cleanup. You wouldn't plunge into a pool without checking for water first, right? So, don your gloves, goggles, and a mask to shield yourself from mold and other nasties lurking in the water. Speaking of mold prevention, remember that mold loves damp, dark places—just like that cousin who crashes on your couch.
Next, minimize electrical hazards. Before you even think about stepping in, turn off the electricity in the affected area. You don't want to be the star of a shocking reality show! Use a battery-powered flashlight instead of the regular light to avoid any risk of electrocution.
Ensure you're wearing sturdy boots, too—no one wants soggy socks while you're trying to save the day. If the water is deep, consider a life vest. It's not just for boats; it can save you from unintentional swimming lessons.
Stop the Water Source
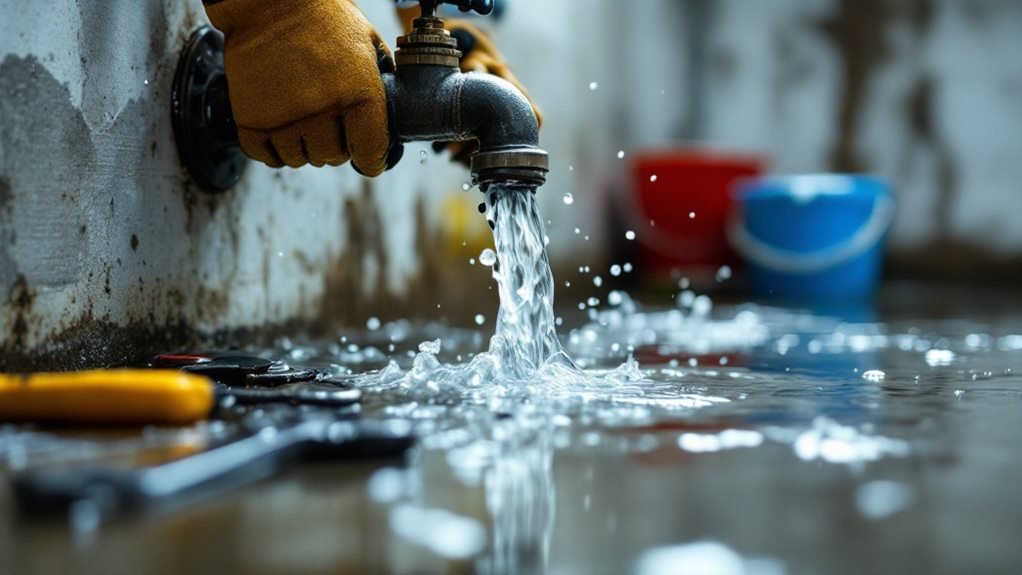
Before you plunge into cleanup, it's vital to stop the source of the water. You don't want to play the world's worst game of Whac-A-Mole with leaks sprouting everywhere! First, identify the culprit. Is it a water leak from a pipe, a malfunctioning appliance, or maybe a mischievous raccoon with a vendetta against your garden hose?
If it's a pipe issue, turn off the main water supply. This will prevent further flooding and keep your home from resembling a swimming pool (unless you're really into that sort of decor). For appliance-related leaks, unplug the device and shut off its water supply.
In cases of heavy rain or a sudden flood, make sure your gutters and downspouts are clear to aid in flood prevention. You can't control Mother Nature, but you can definitely help her by keeping water away from your foundation.
Once you've stopped the water source, you'll be ready to tackle the aftermath. Remember, every second counts when it comes to minimizing damage, so don't wait for an invitation—take action now!
Remove Excess Water
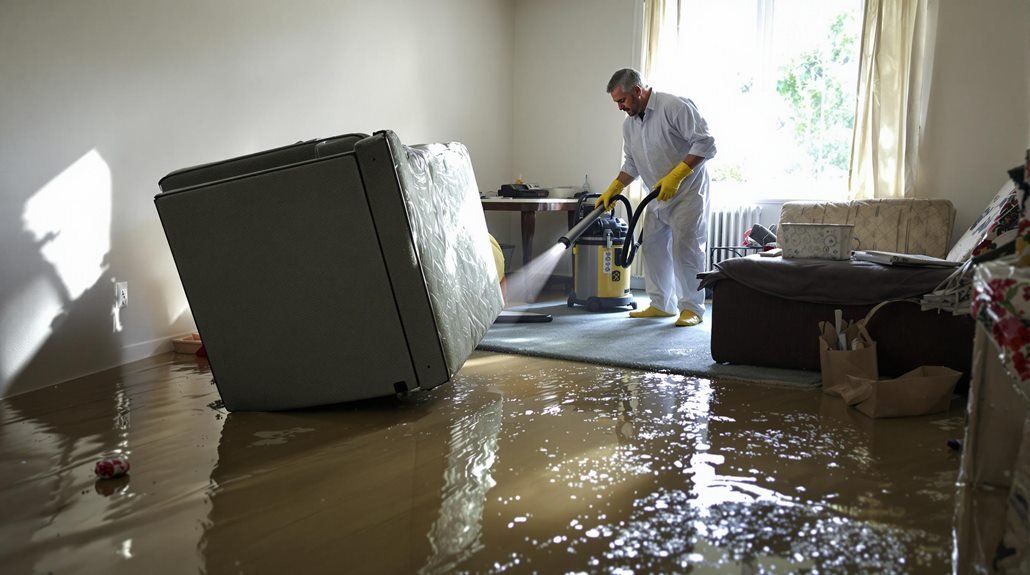
Removing excess water is your next crucial step in the cleanup process. You've already stopped the source of the flood, so now it's time for some serious water extraction. Grab a wet/dry vacuum and channel your inner superhero. If you don't have one, a mop and bucket can likewise do the trick—though it might feel more like a workout routine than a home repair.
Start by vacuuming up as much water as possible. Focus on the areas that are most soaked. If you're feeling adventurous, you can even make a game out of it—who knew water removal could be so thrilling? Just remember, the goal here is moisture control, not a water park in your living room.
After you've sucked up the bulk of the water, use towels to dab up any remaining dampness. Don't forget to keep an eye on those hidden corners; they tend to harbor sneaky puddles! By effectively removing the excess water, you set the stage for the next phase of your DIY cleanup, ensuring you're one step closer to restoring your space. So, get in there and show that water who's boss!
Dry and Ventilate the Area
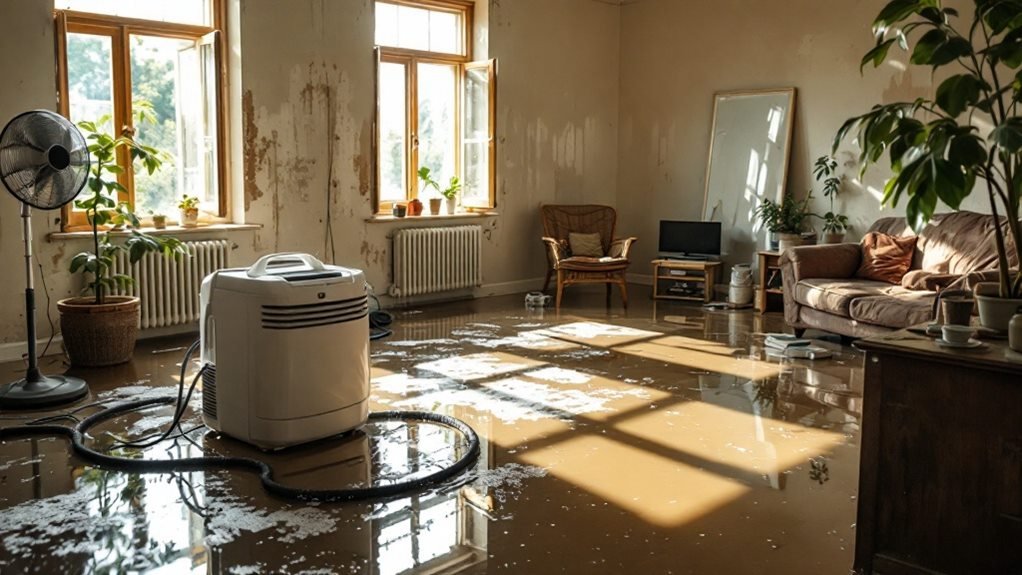
After tackling the water extraction, your space needs some serious drying and ventilation to prevent further damage. Think of it as giving your home a spa day—minus the cucumber slices and soothing music. Start by cranking up those dehumidifiers. They're like the superheroes of moisture control, zapping that dampness before it can throw a party in your walls. Make sure to place them in the wettest areas, and don't forget to empty the tanks regularly.
Next, let's talk air circulation. Open windows and doors to invite fresh air in, and consider using fans to create a nice breeze. The more airflow you've got, the quicker your space will dry. If you can't get enough natural air, aim those fans right at the affected areas. It's like a wind tunnel for your soggy living room—just without the racing!
Keep an eye on the humidity levels; you're aiming for a sweet spot below 50%. This'll help prevent mold from becoming your new housemate. With a little effort in drying and ventilating, you'll be well on your way to a dry, happy home!
Frequently Asked Questions
How Can I Tell if Mold Is Already Growing?
To tell if mold's already growing, check for signs of mold like musty odors, discoloration, or water stains. Use mold detection methods like visual inspections or moisture meters—your nose and eyes are your best tools!
What Personal Protective Equipment Should I Wear During Cleanup?
Gear up for your cleanup crusade! Grab gloves suited for slippery situations and select a respirator that fits snugly. Keep yourself safe while tackling the mess—it's better to be protected than sorry!
Can I Use Household Fans to Dry the Area?
Yes, you can use household fans! Proper air circulation techniques matter, so place fans strategically to boost airflow. Aim them toward damp spots, and watch your soggy area dry faster than a cat avoids water!
How Long Does It Take for Water Damage to Show?
Did you know water damage can start showing signs within just 24 hours? On the water damage timeline, look for signs of moisture like stains or musty odors—those sneaky clues won't wait for you to notice!
What Items Should I Discard After Water Damage?
After water damage, toss out soggy carpets and any furniture that's beyond salvage. If it's got that musty smell or visible mold, it's time to say goodbye—your health's worth more than a wet sofa!
Conclusion
Taking swift action during water damage can be like trying to put out a fire with a bucket of water; every second counts. By evaluating the damage, ensuring safety, stopping the water source, removing excess water, and drying the area, you can greatly reduce the impact before professionals arrive. Just as a well-timed intervention can save a house from flames, your quick response can prevent further destruction and mold growth, giving you a fighting chance against the aftermath.
Recent Comments